How to Add Video Conferencing to Joomla with the Plug-N-Meet Extension
This guide provides a complete walkthrough for integrating the Plug-N-Meet video conferencing component with your Joomla website. By following these steps, you will be able to host secure video meetings directly from your own domain.
Part 1: Installation & Initial Setup
This section covers installing the extension and connecting it to your PlugNmeet server.
1. Install the Extension
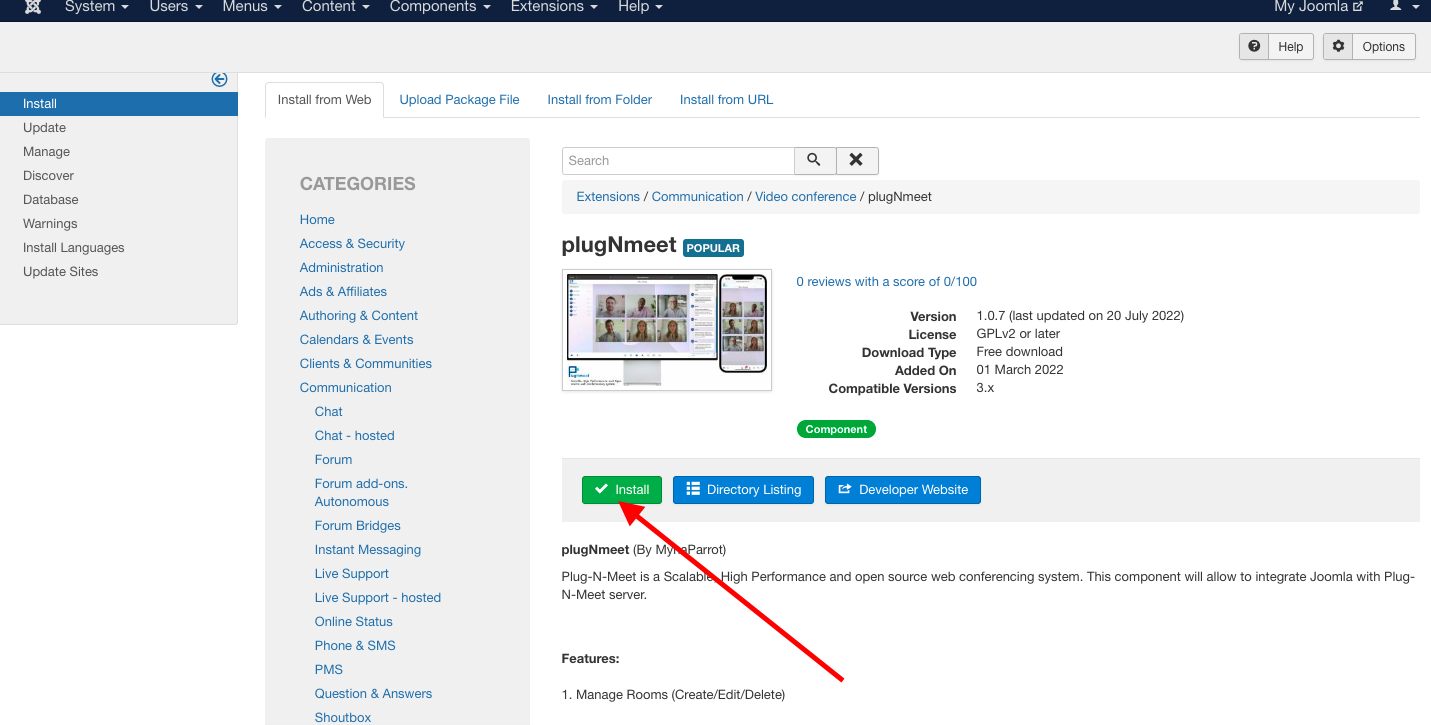
- From your Joomla administrator panel, navigate to System > Install > Extensions.
- Select the Install from Web tab and search for plugnmeet.
- Find the official Plug-N-Meet extension and click Install.
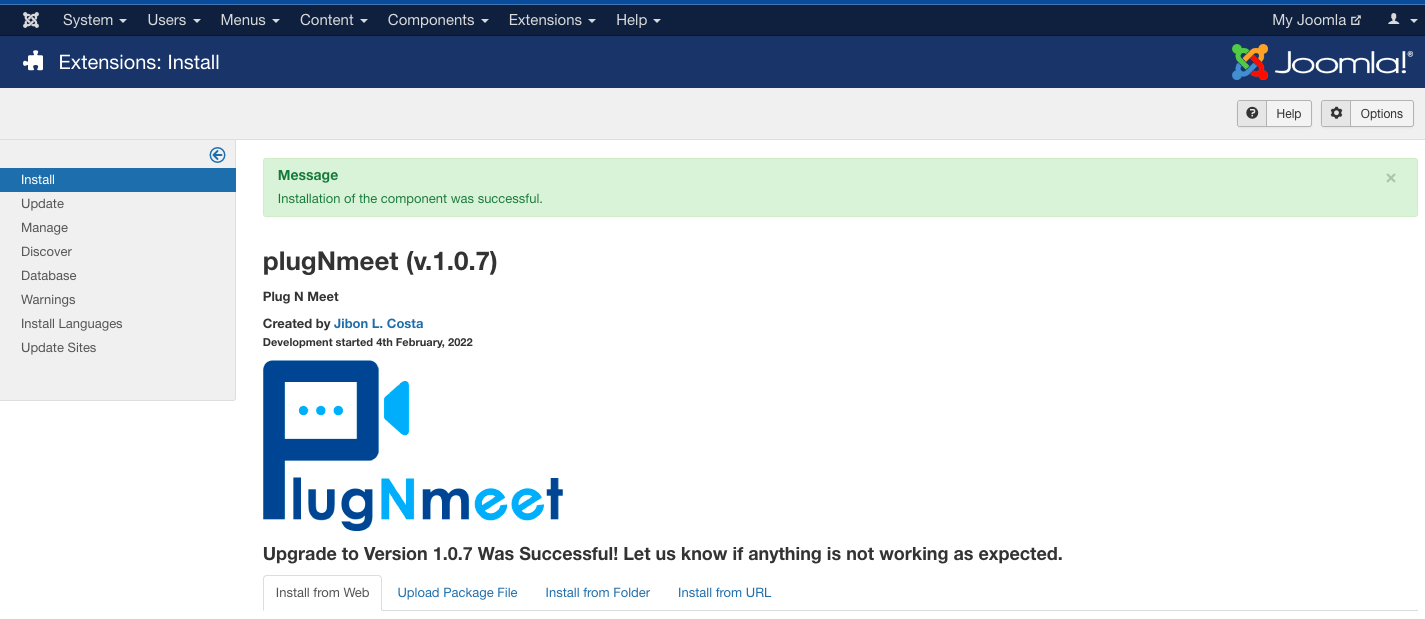
- After a moment, you should see a confirmation that the installation was successful.
2. Connect to Your Server (API Settings)
This is the most important step. You must connect the extension to a working PlugNmeet server.
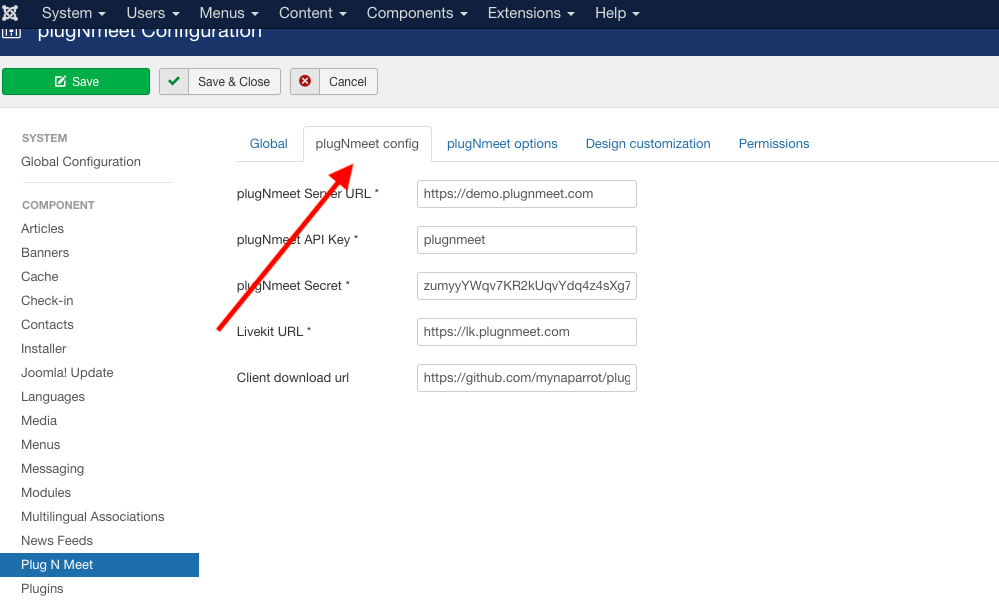
- From your Joomla administrator panel, navigate to System > Global Configuration.
- In the left-hand menu, select plugNmeet.
- You will see three fields: Server URL, API Key, and API Secret.
- After installation, these fields will be pre-filled with demo credentials. You must replace these with the API details from your own self-hosted or PlugNmeet Cloud server. The demo server is for temporary testing only and has limitations.
- After entering your own credentials, click Save.
Part 2: Creating & Publishing Your First Meeting
Now that the extension is configured, you need to create a room and then make it accessible on your website.
Step 2.1: Create a Meeting Room
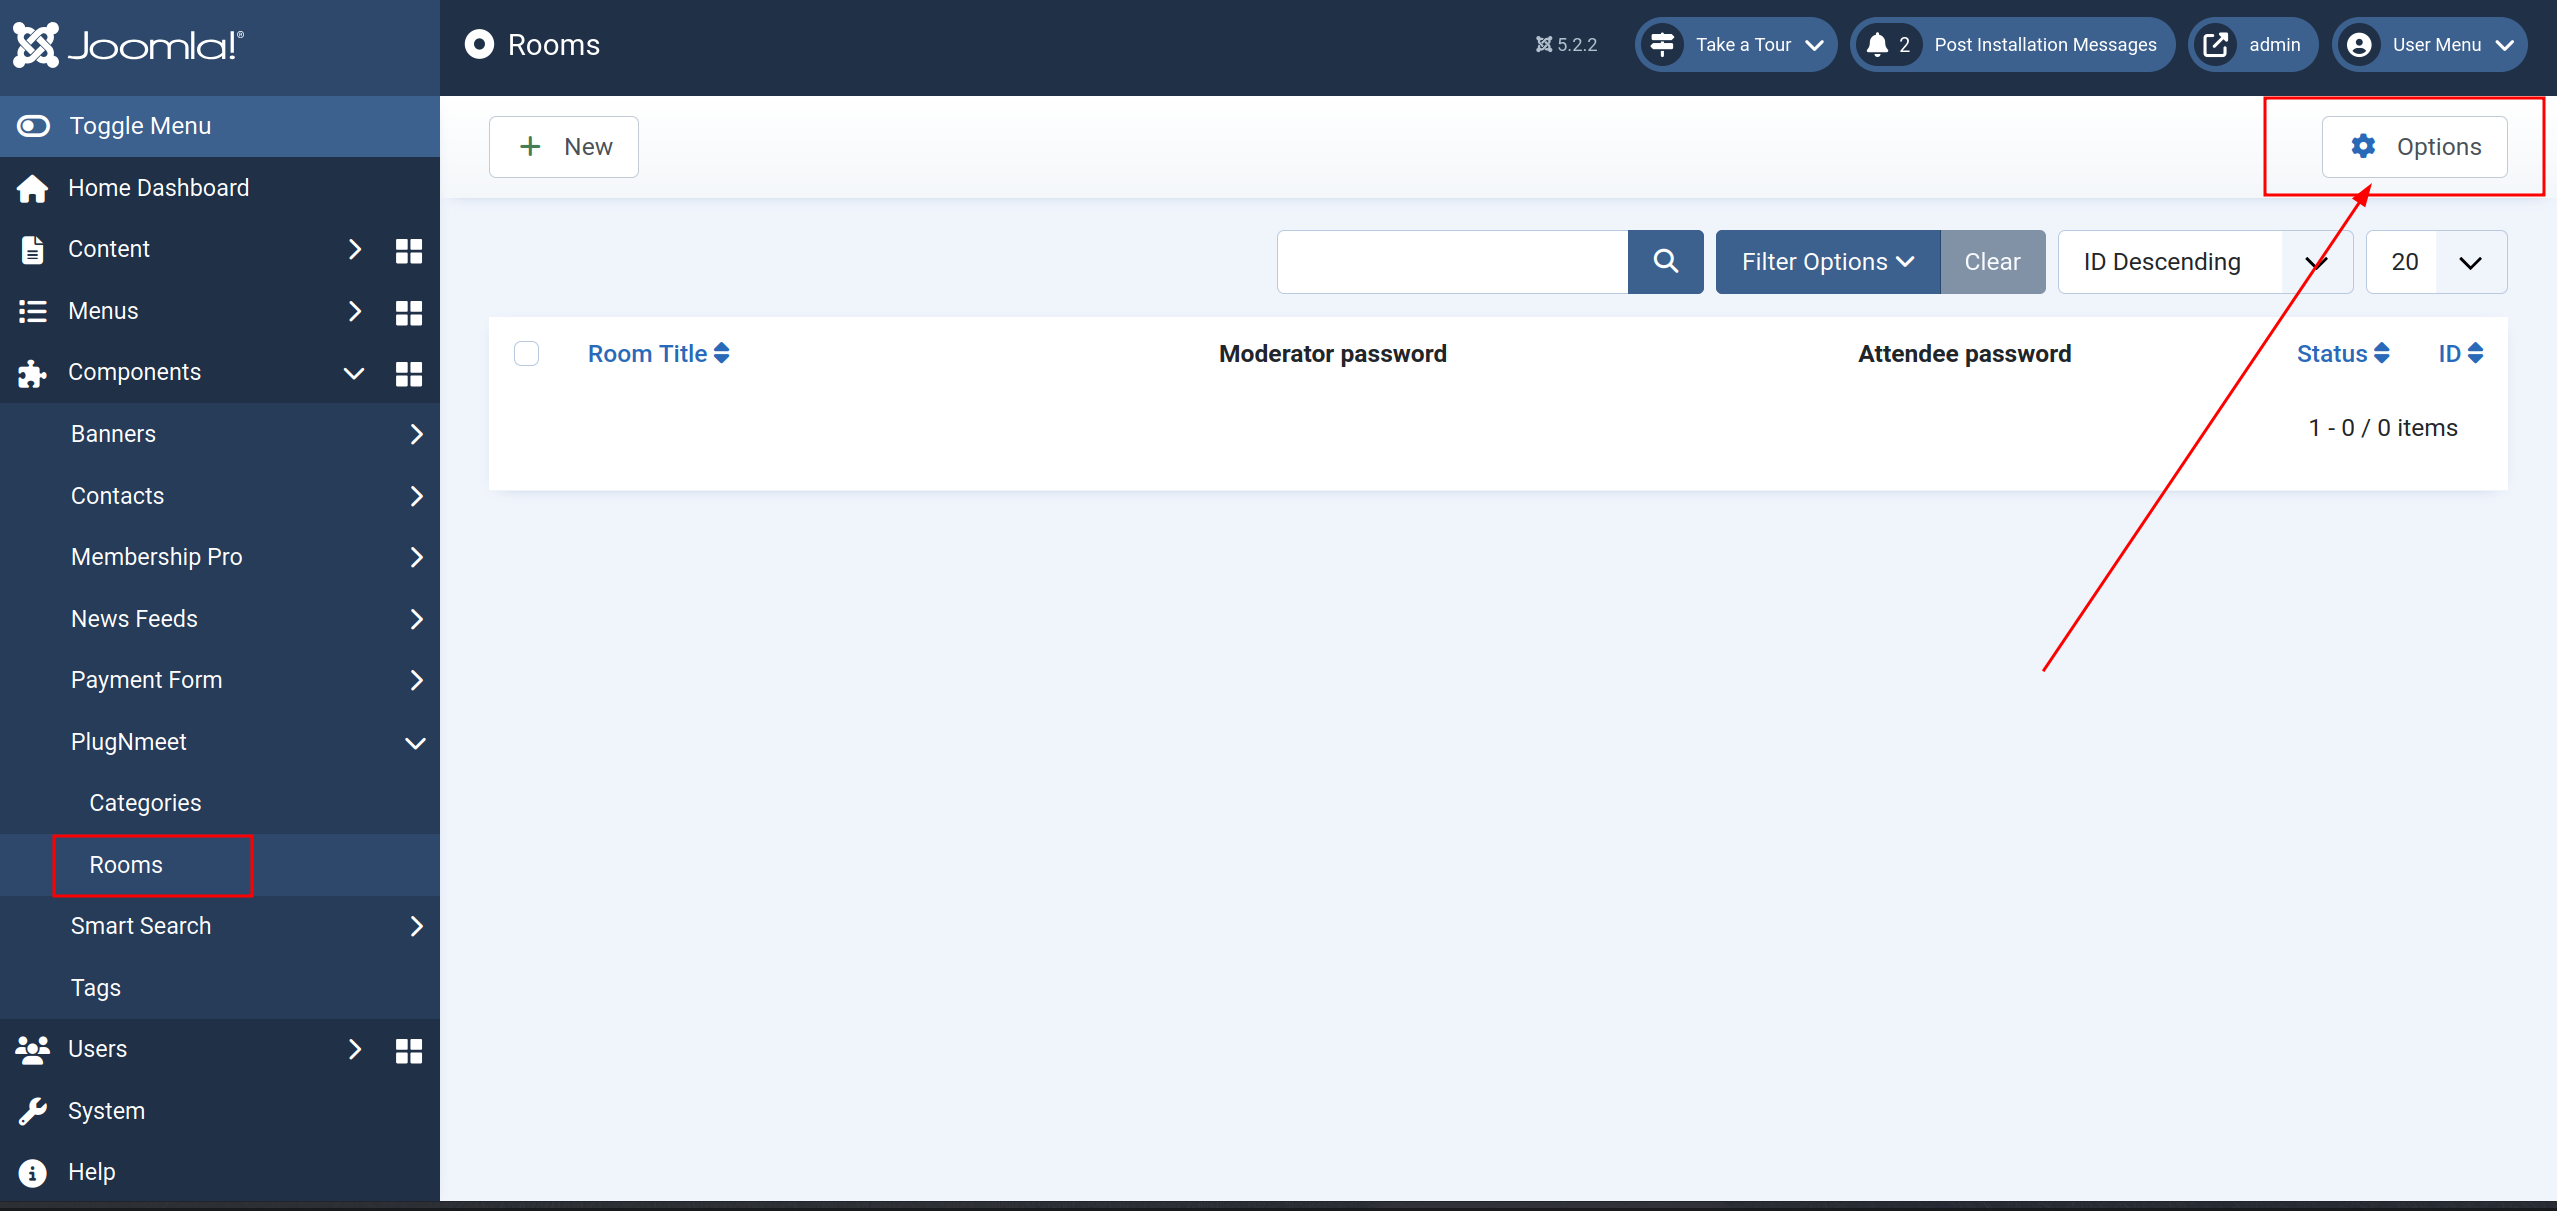
- From the Joomla administrator panel, go to Components > Plug N Meet > Manage Rooms.
- Click + New to create a new meeting room.
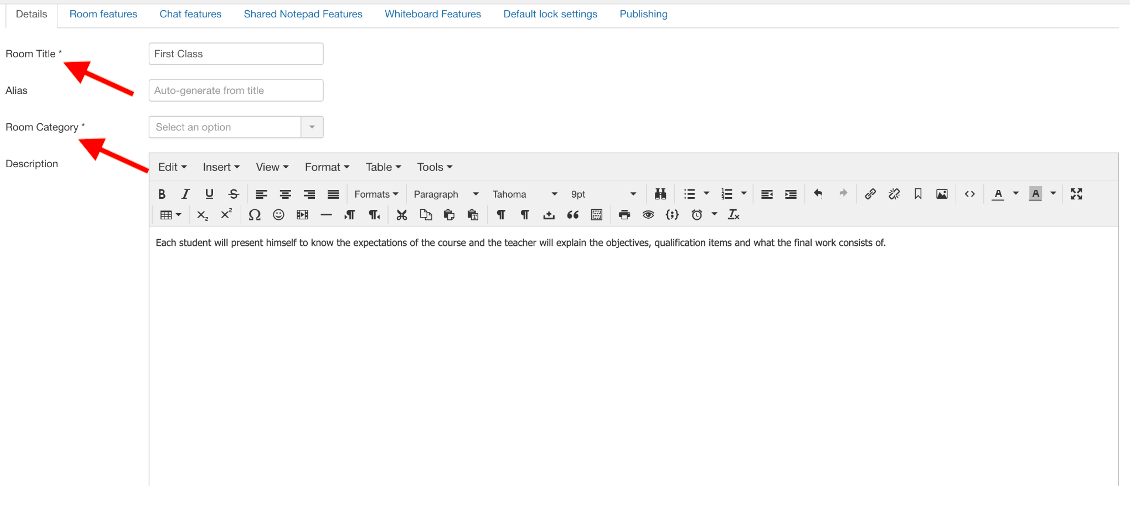
- Configure Room Settings:
- Title & Description: Give your meeting room a clear title.
- Passwords: Set passwords for moderators and attendees.
- Welcome Message: Customize the initial message that appears in the chat.
- Max Participants: Set a limit on the number of users who can join (use
0for unlimited). - Room Features & Default Lock Settings: Enable or disable features like webcams, screen sharing, and recording to customize the in-room experience.
- When you are finished, click Save.
Step 2.2: Display the Room on Your Site
To allow users to access the room, you must link to it from a menu.
- Navigate to Menus > Main Menu (or your preferred menu) and click + Add New Menu Item.
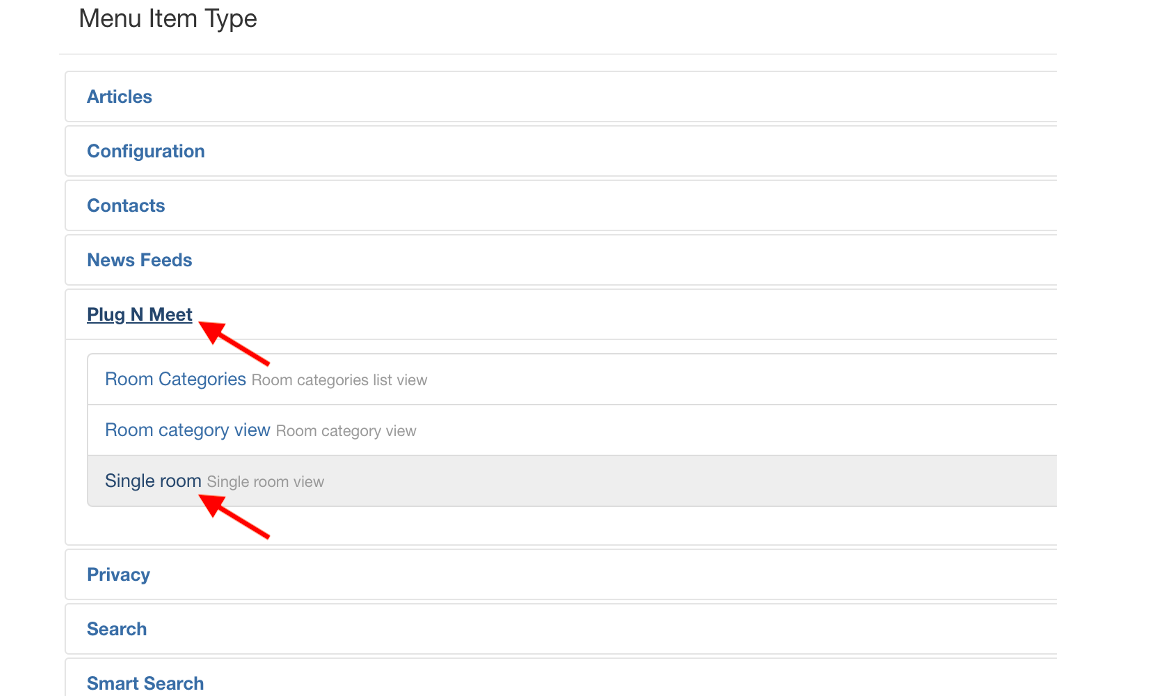
- In the Menu Item Type field, click Select.
- A modal window will appear. Choose Plug N Meet > Single room.
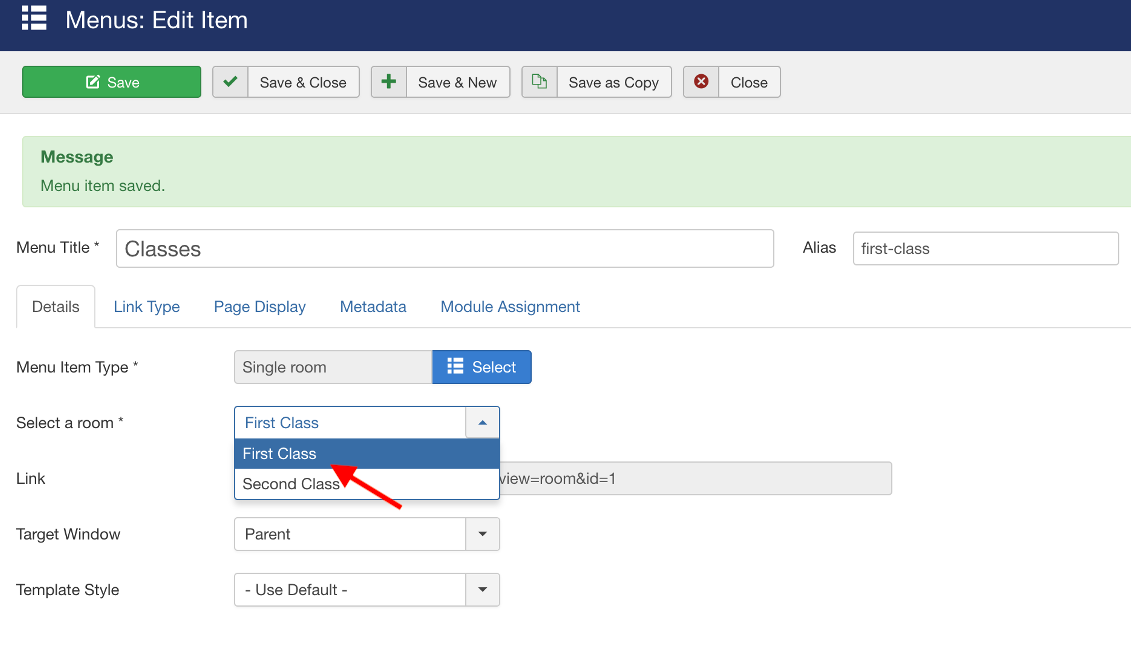
- In the Select a room dropdown, choose the room you just created.
- Give the menu item a Title (e.g., "Live Class" or "Weekly Meeting").
- Click Save.
- Your meeting room is now live and accessible from your website's main menu.
Part 3: The Attendee Experience
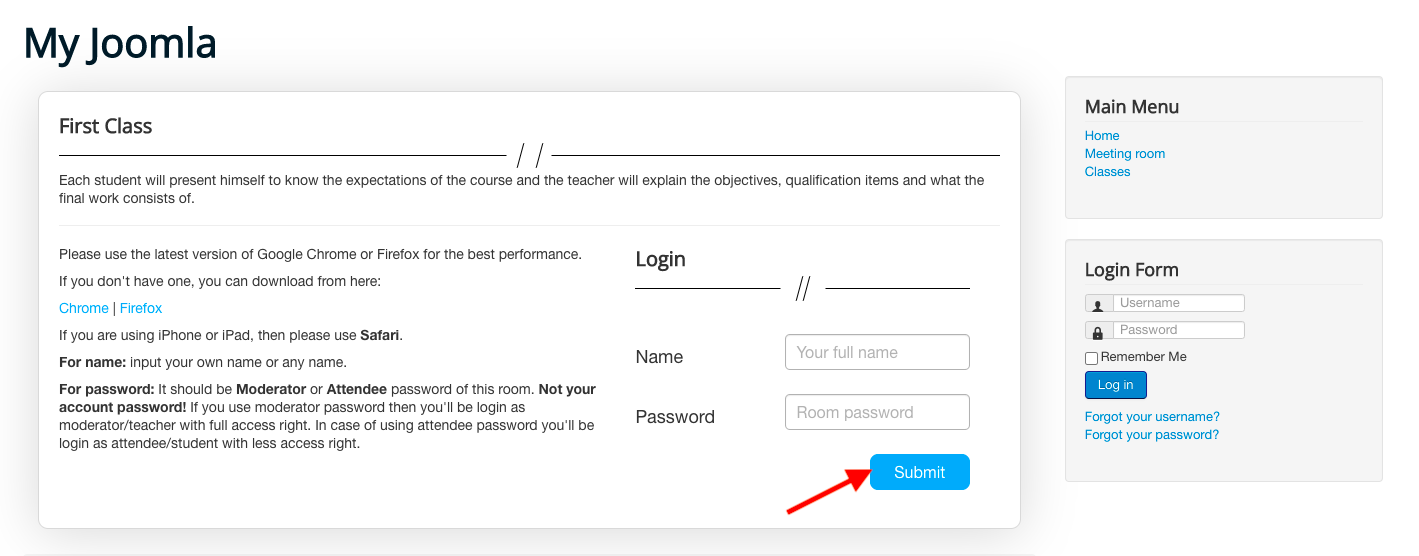
When a user clicks the new menu item on your website, they will be taken to the meeting login page.
- To join, they simply need to enter their name and the password you configured for the room.
Part 4: Advanced Configuration (Optional)
These settings allow you to further customize the look and permissions of your meetings.
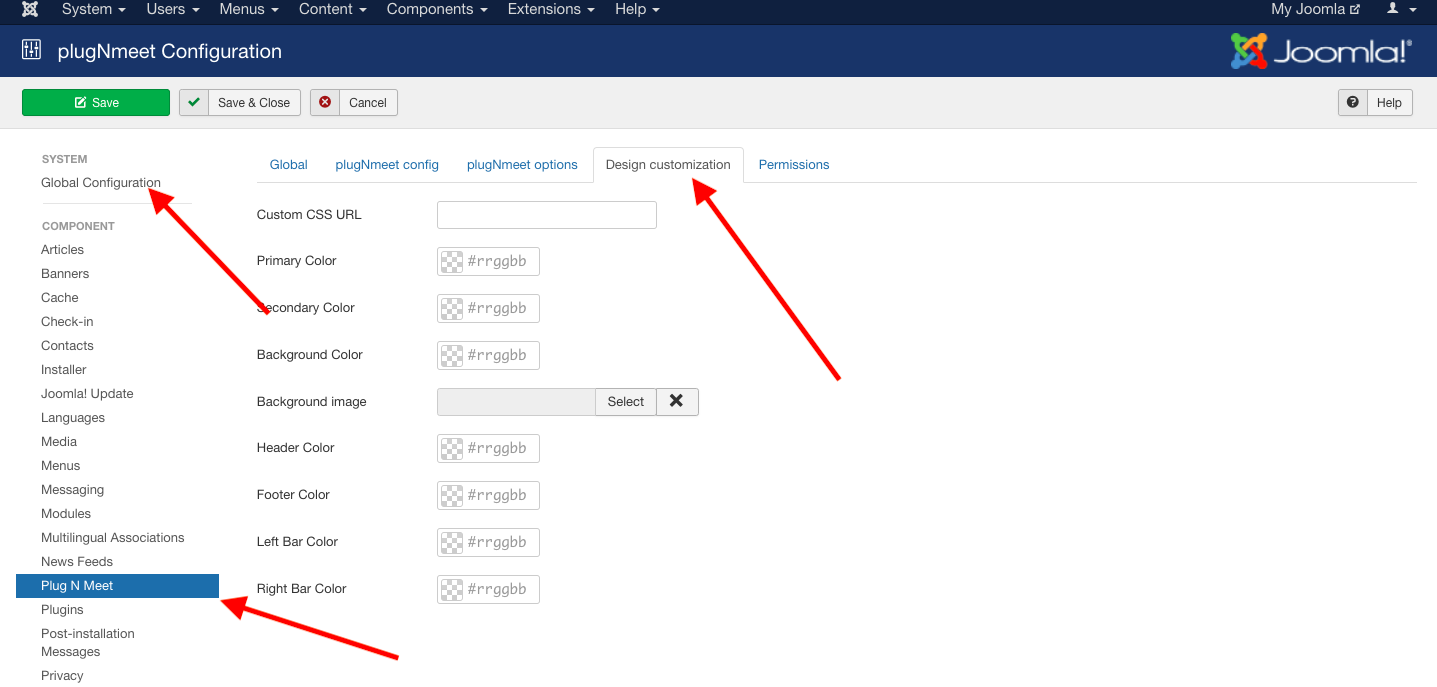
Design Customization
You can customize colors and logos to match your brand.
- Global Customization: Navigate to System > Global Configuration > plugNmeet > Design Customization.
- Per-Room Customization: When editing a specific room (Components > Plug N Meet > Manage Rooms), click the Design Customization tab.
Here you can change the logo, background, and all primary and secondary colors.
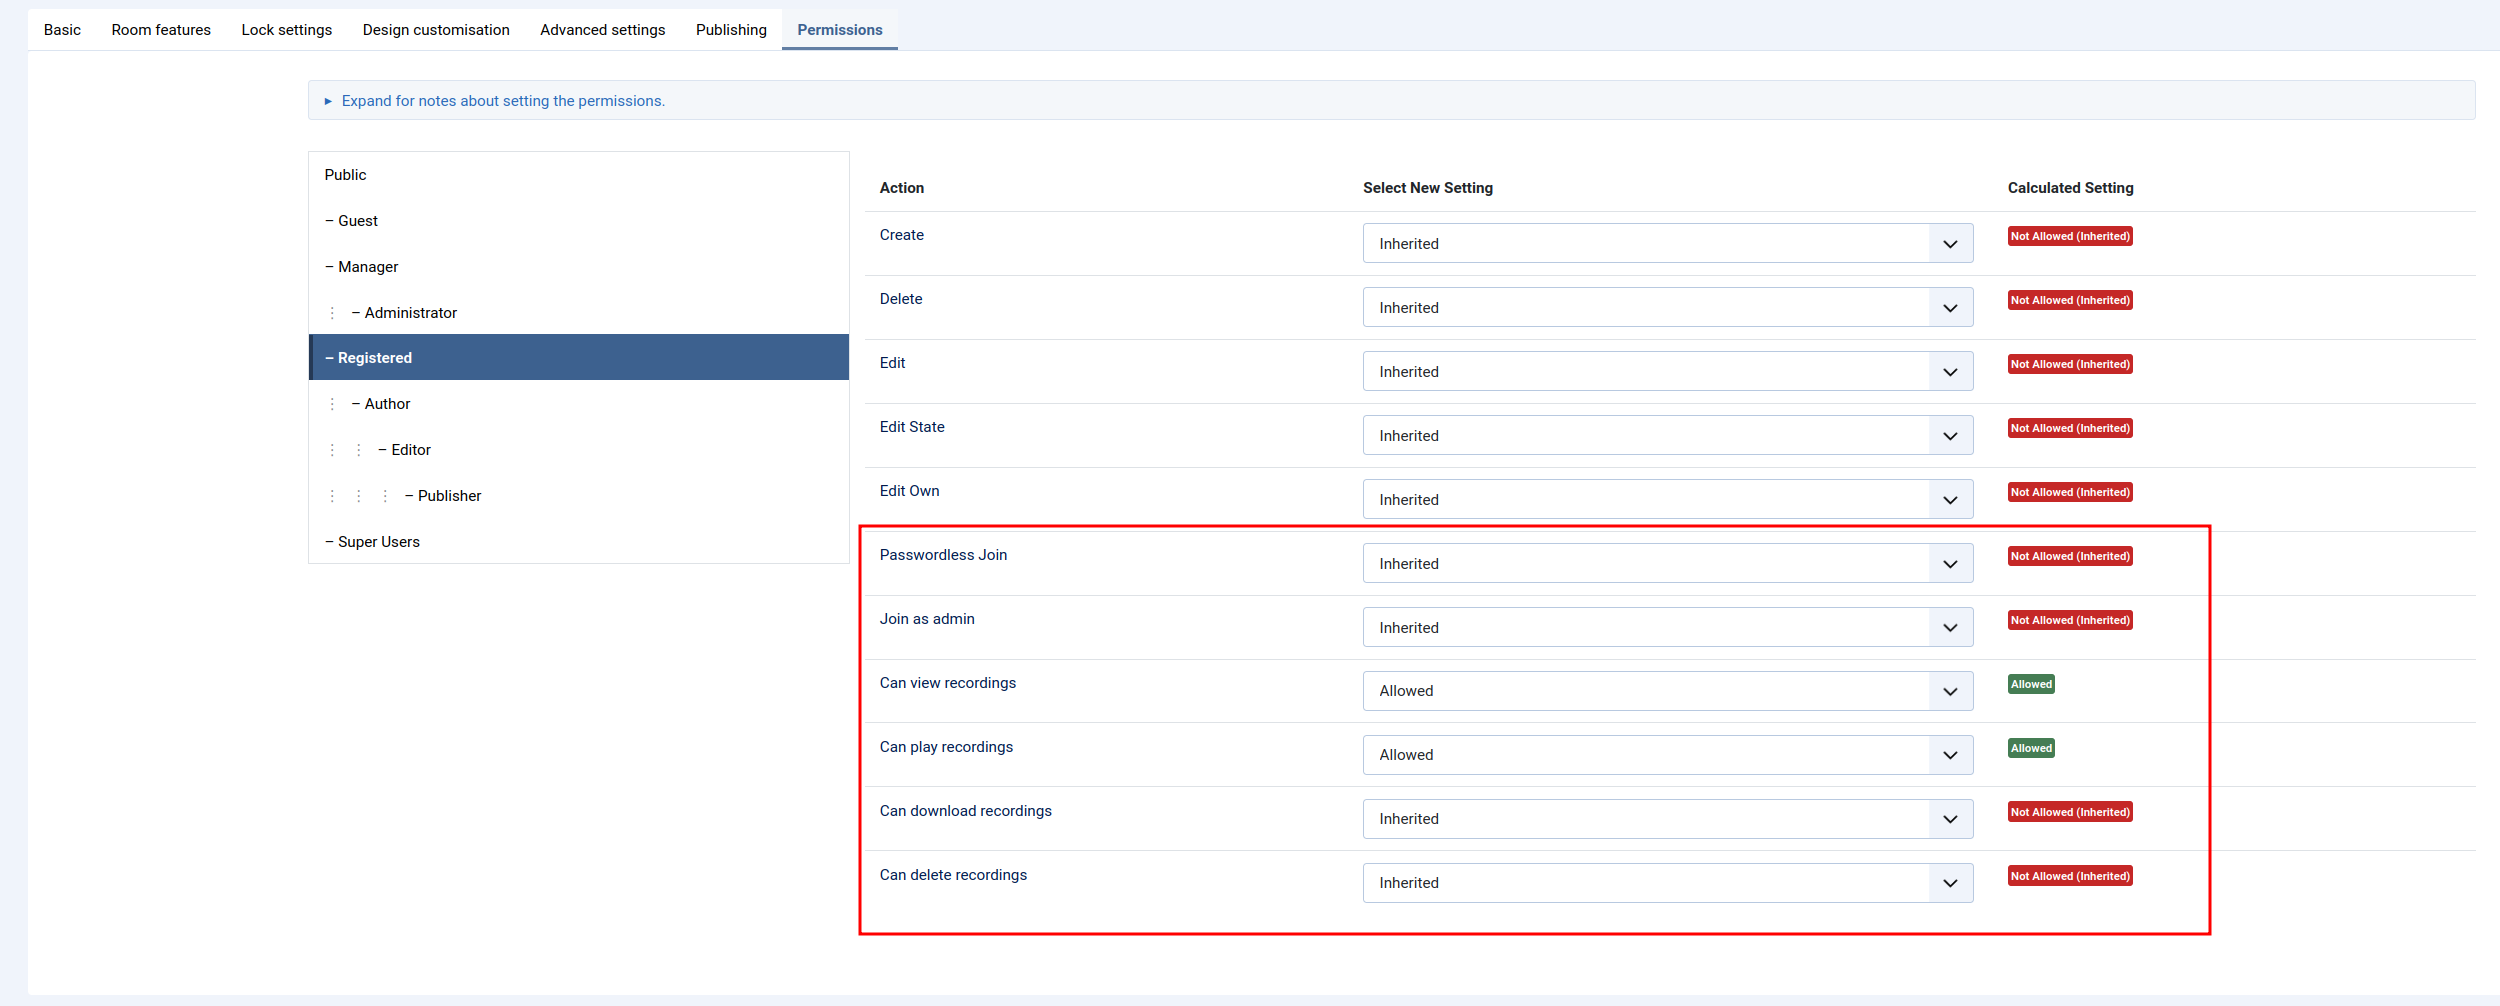
User Permissions
When editing a room, click the Permission tab to configure which Joomla user groups have access to the room and what their roles are (e.g., moderator or attendee).
Common Questions & Troubleshooting
Why do I see an 'Invalid API' error on my meeting page? This is the most common issue. It means you are still using the default demo credentials in the global configuration. You must replace these with the API details from your own PlugNmeet server.
How do I find the global settings after installation? As a Joomla administrator, you can find the global settings under System > Global Configuration > plugNmeet.